Crediting Part of an Invoice for a Service Job
Use this process to credit part of a free form invoice for a service job. When partially crediting a free form invoice, you need to know in advance the amount of the credit because Micronet does not calculate this for you.
|
|

|
Warning
|
This method of creating a credit note involves creating a negative free form invoice. When you enter a negative invoice value, Micronet automatically defaults to credit note creation and uses your current job credit note layout to print the credit note. It also prompts you to assign the credit note to the correct customer invoice.
- Load the job you want to credit.
Refer to "Recalling a Service Job or Quote".
- If required, change the Job Status on the Job Information screen from C - Completed to A - Active.
- Select Accept.
Micronet displays the Job Transaction Processing screen.
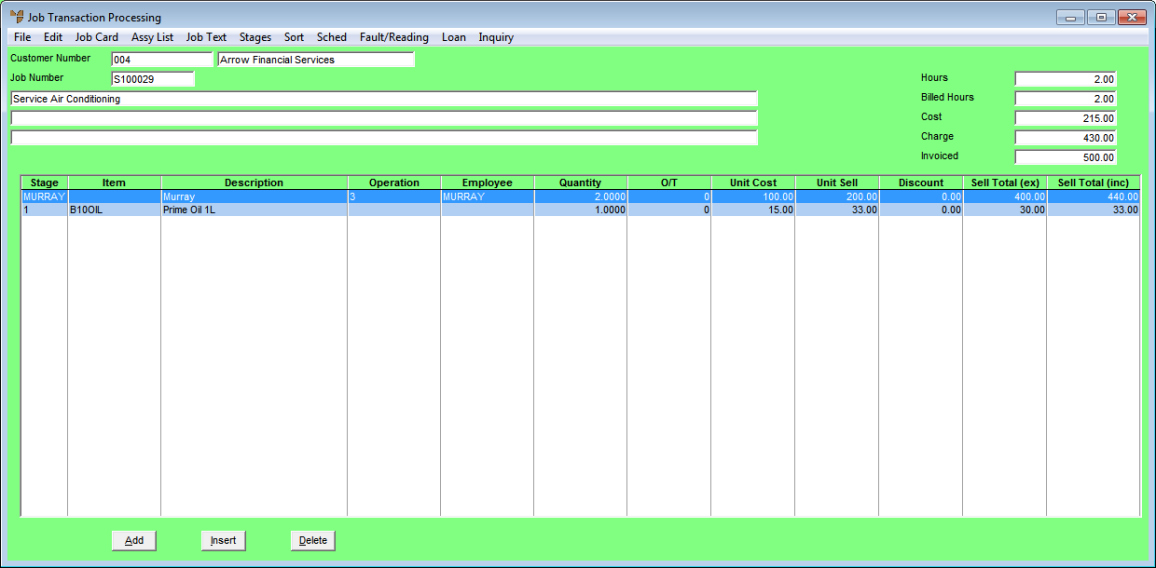
- Select FILE | FREE FORM INVOICE.
Micronet displays the Free Form Invoicing screen.
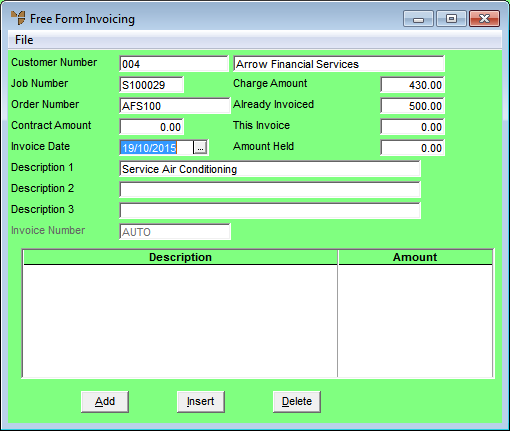
- Select the Add button.
Micronet displays the Enter Text screen.
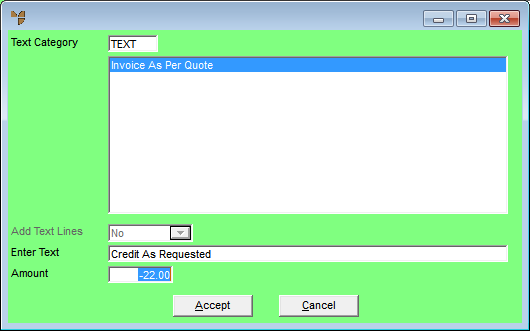
- Complete the following fields:
|
|
Field
|
Value
|
|
|
Text Category
|
If you have a Text category set up in MDS, enter the category code. Micronet displays any standard lines of text you can add to the invoice. Double click on a text line to add it to the invoice. Micronet displays the line in the Enter Text field.
|
|
|
Enter Text
|
Alternatively, enter any free text you want included on this credit note.
|
|
|
Amount
|
Enter the amount of the credit to appear on the credit note against the text line. Enter this figure as a negative amount.
|
- Select Accept.
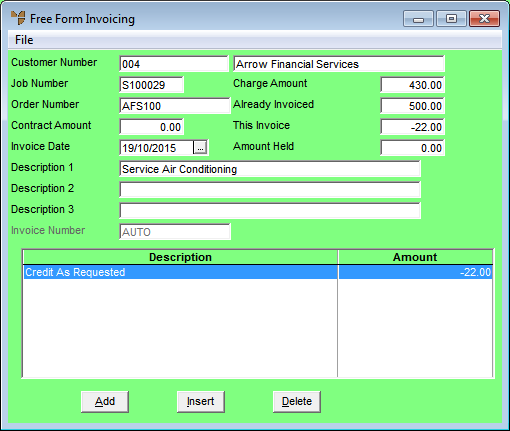
- When you have finished adding text lines, select the Cancel button.
Micronet displays the Free Form Invoicing screen showing all the credit lines and amounts.
- Select FILE | PRINT INVOICE to print the credit note.
|
|

|
Technical Tip
You cannot select the FILE | PROFORMA INVOICE option as you cannot save a credit as a proforma invoice.
|
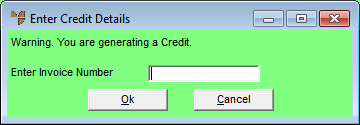
Micronet displays a message warning that you are generating a credit.
- Enter the invoice number to be credited.
You can also press spacebar then Enter to select from a list.
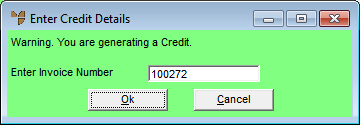
- Select Ok.
Micronet displays the Enter WIP for Free Invoice screen showing the amounts to be credited.
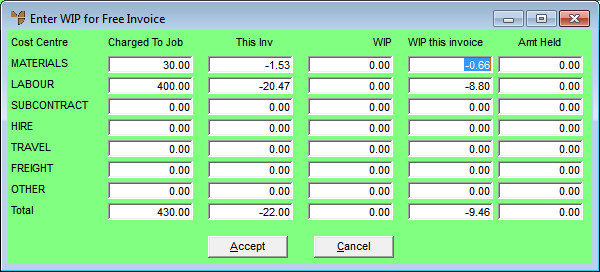
- Select Accept.
Micronet displays the Invoice Total screen.
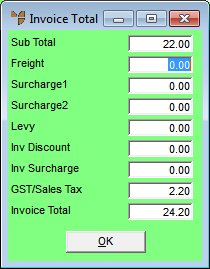
- Select OK.
Micronet processes the credit note and then displays the Select Printer screen.
- Select the printer you want the credit note printed on then select Accept.
Micronet prints the credit note then redisplays the Job Information screen so you can load another service job if required.